Photoshop enhancements
Cheap Bloom
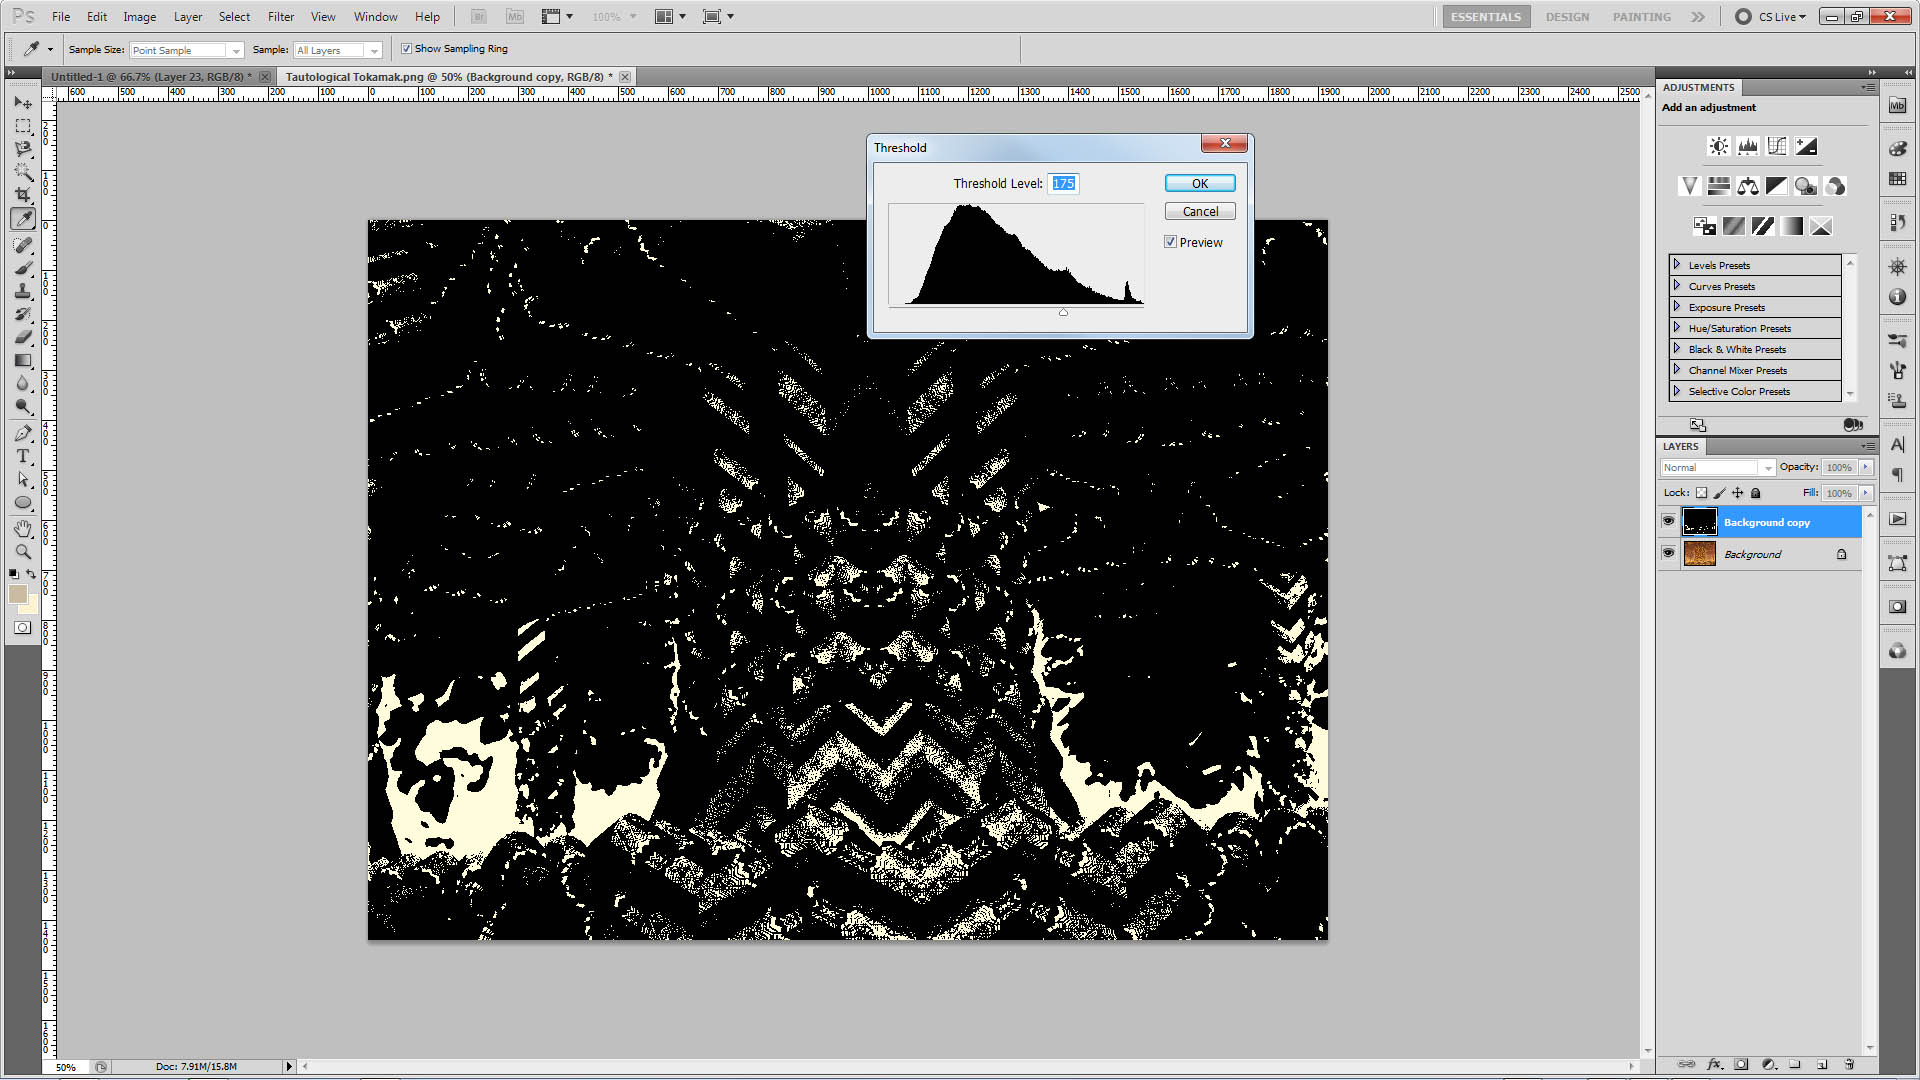
Step 1
Open the rendered image and duplicate the layer. Apply image-->adjustments-->threshhold and set the slider so that only a small amount of white is showing. You may have to experiment to find the setting that works best for you or your fractal. This technique is also good for photos and works in VFX programs like After Effects too. There are plugins that can acheive the same effect, but this manual method allows full control over the size of the bloom.
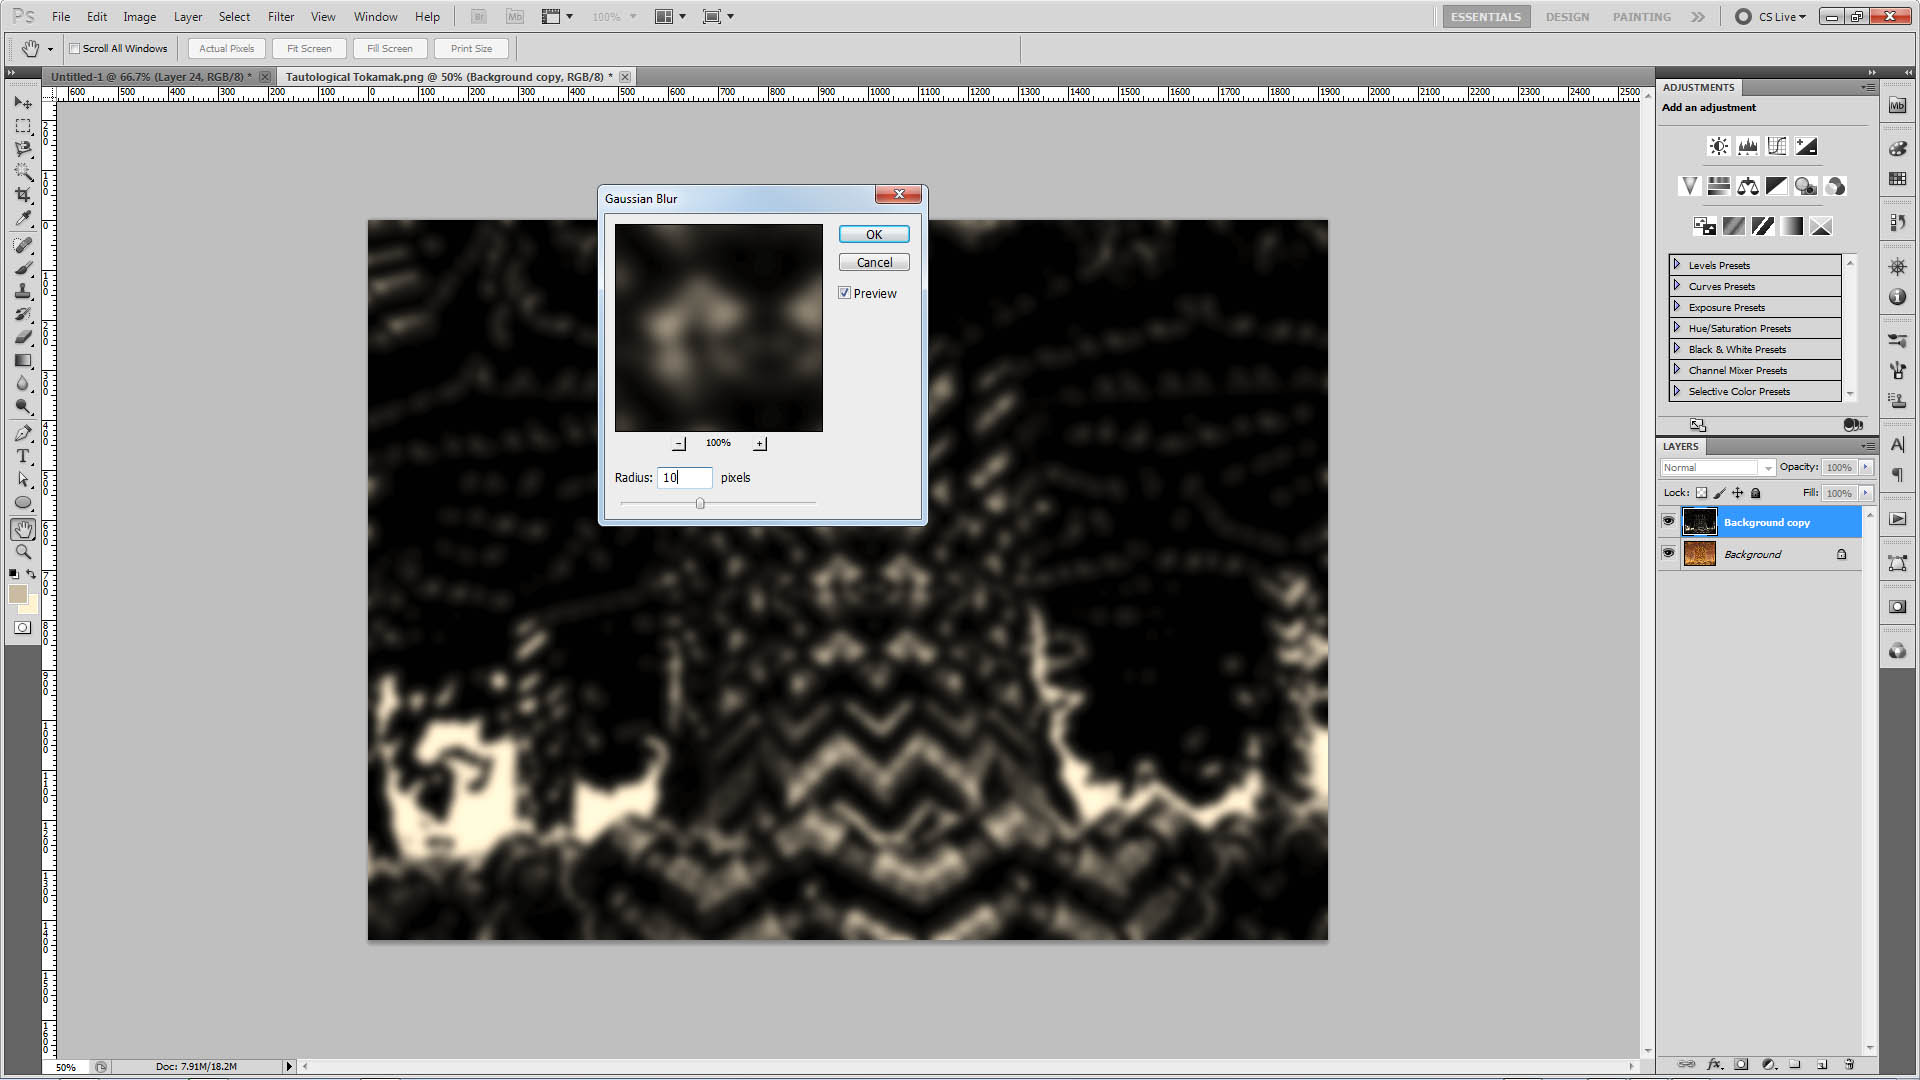
Step 2
Apply a gaussian blur of about 10-20 pixels. Larger images will need larger values.
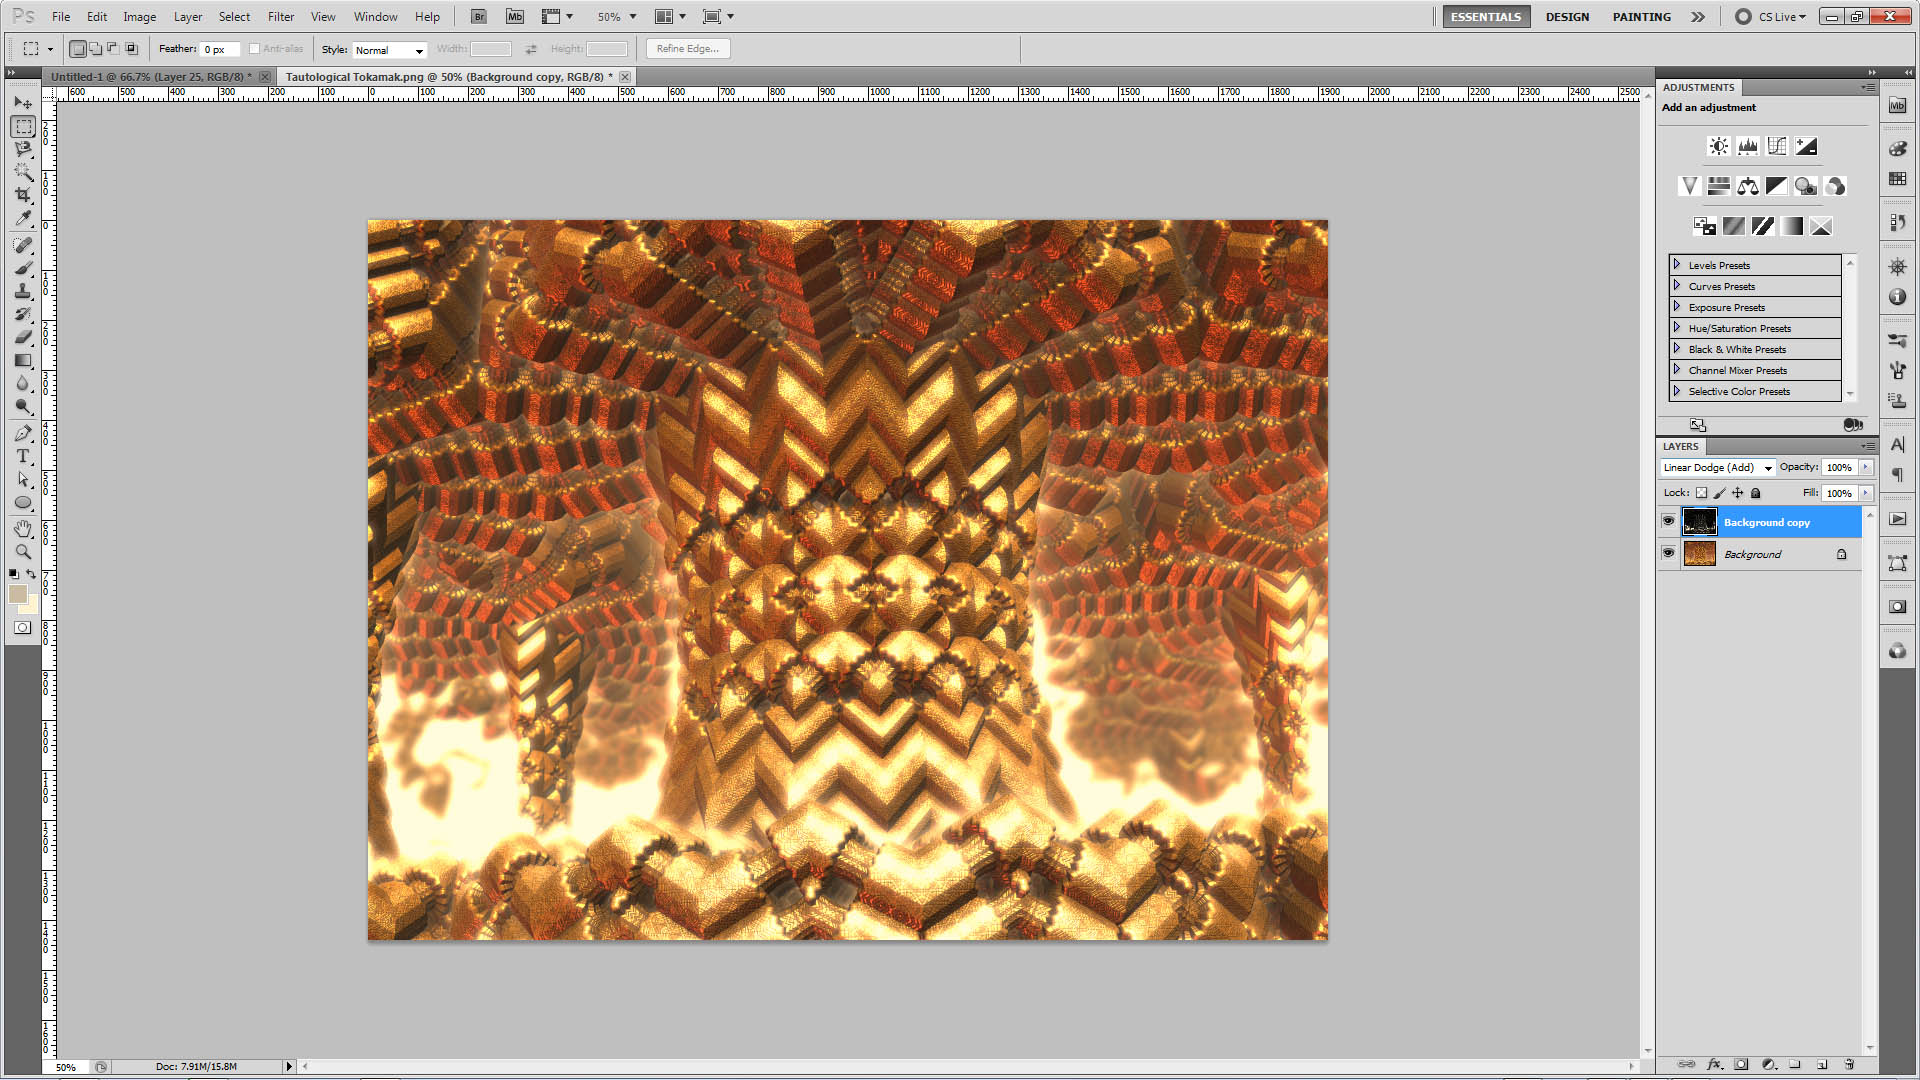
Step 3
Set the layer to Linear Dodge and adjust the opacity of the layer to suit. Some pictures might look good at 10% opacity, others might look good with 100%. YMMV.
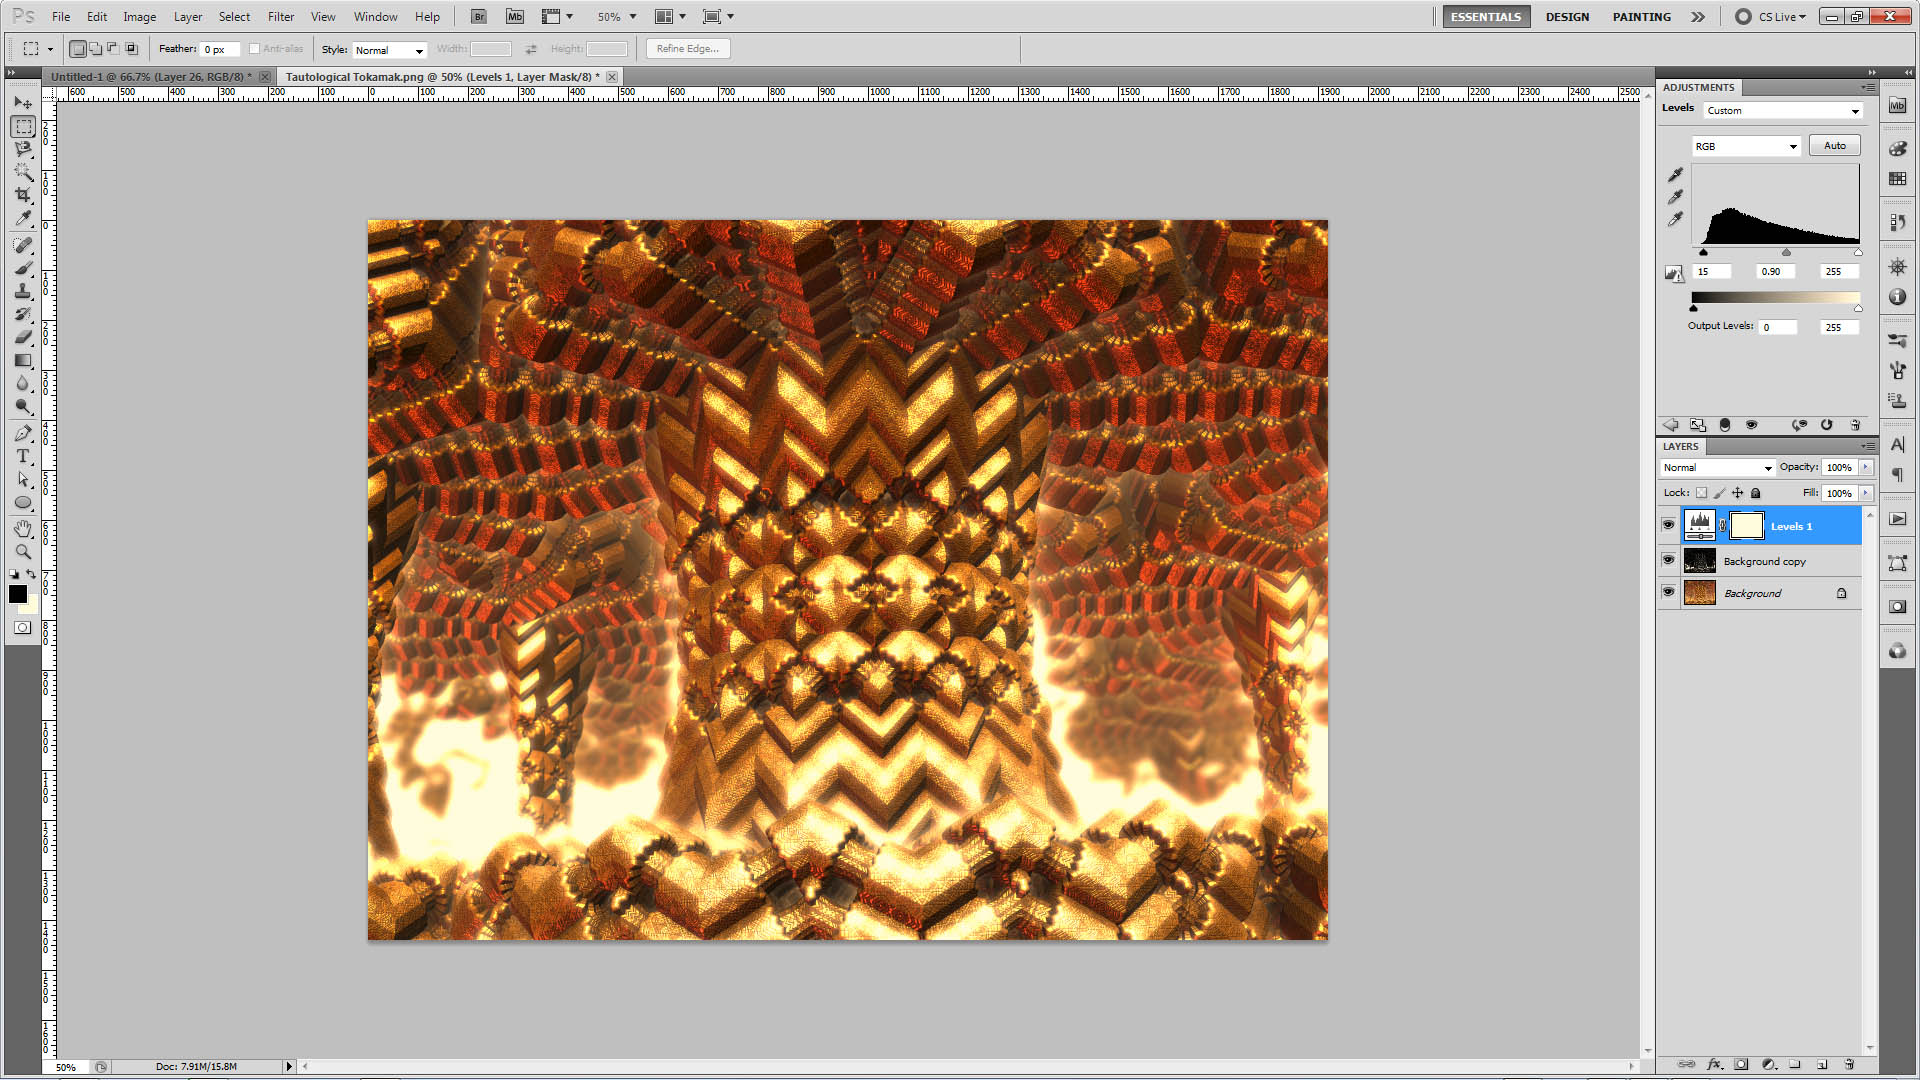
Step 4
Add a levels adjustment layer and season to taste.
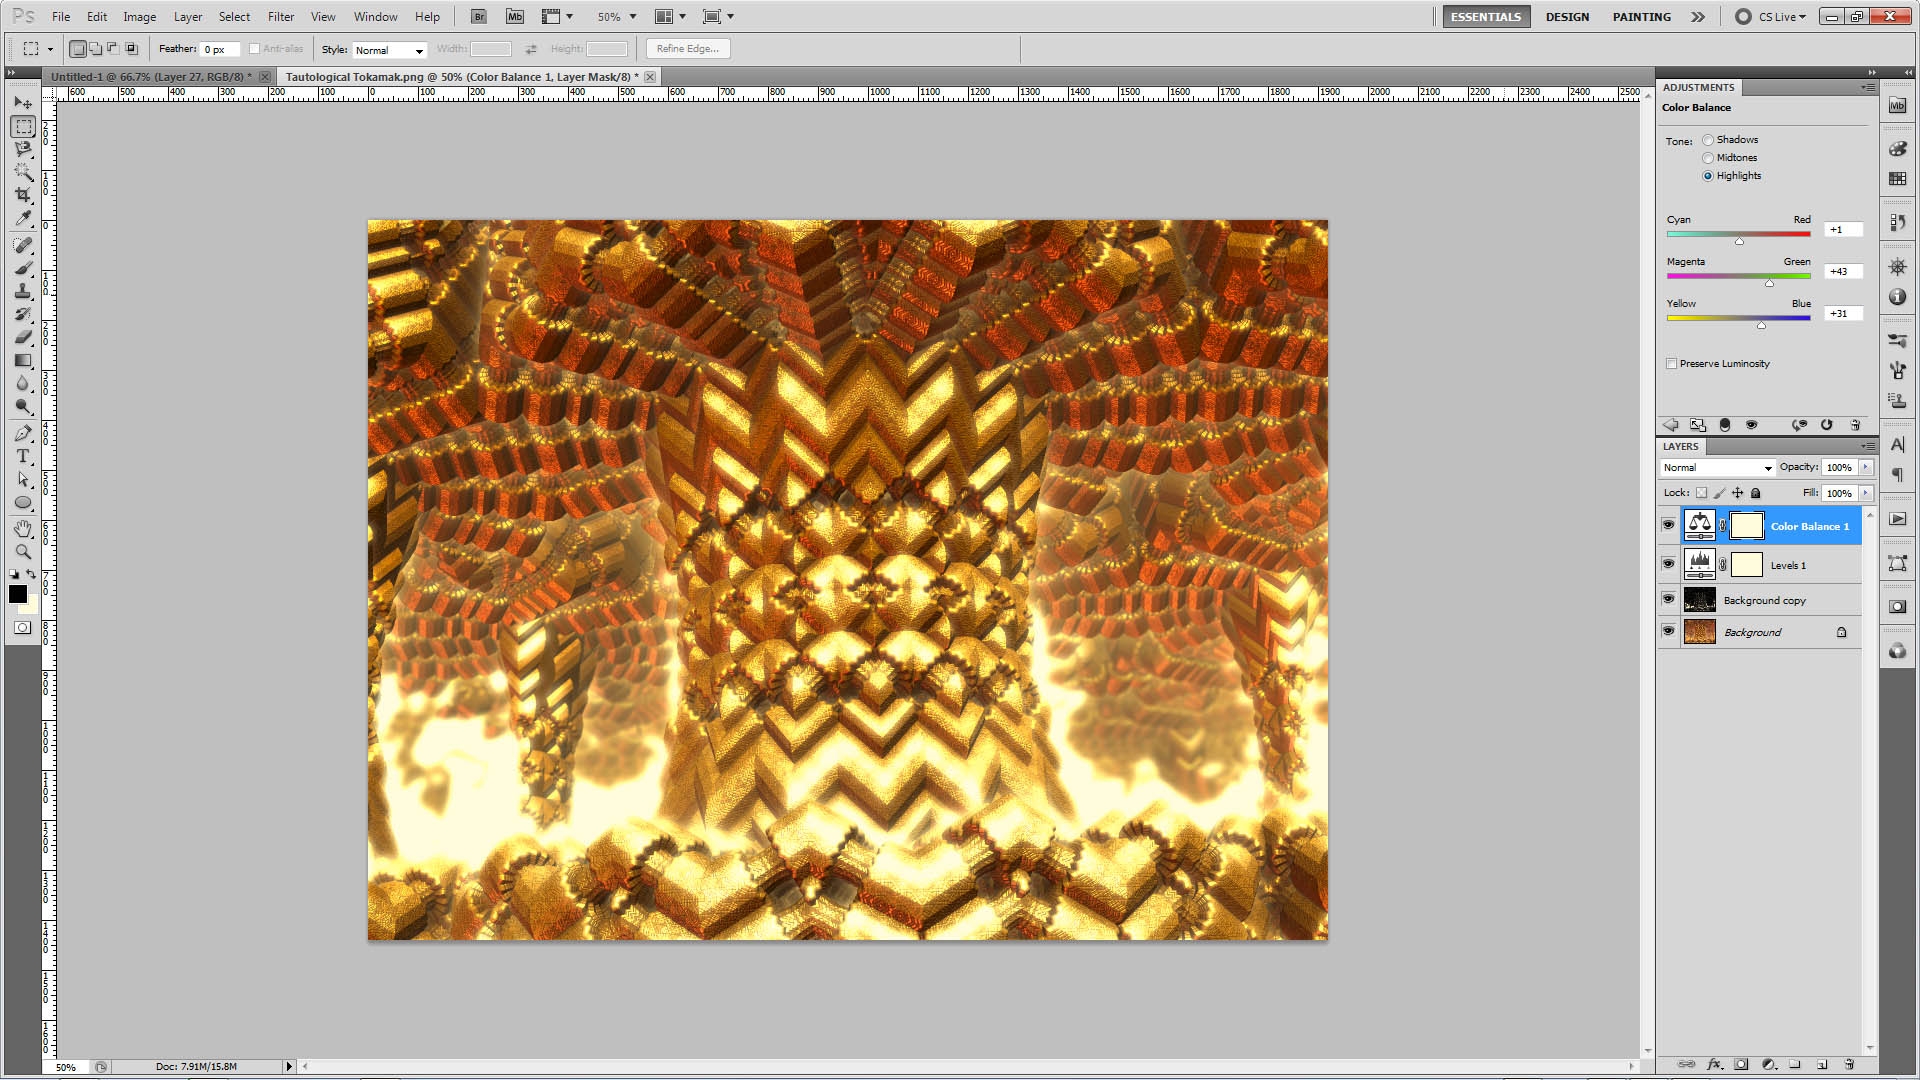
Colour Correction
Step 5
Optionally add a colour balance and or a photo filter adjustment layer to tone the image to taste. You can use any techniques you like (I often also use curves, hue saturation, vibrance etc) to enhance it to your liking.
Or...

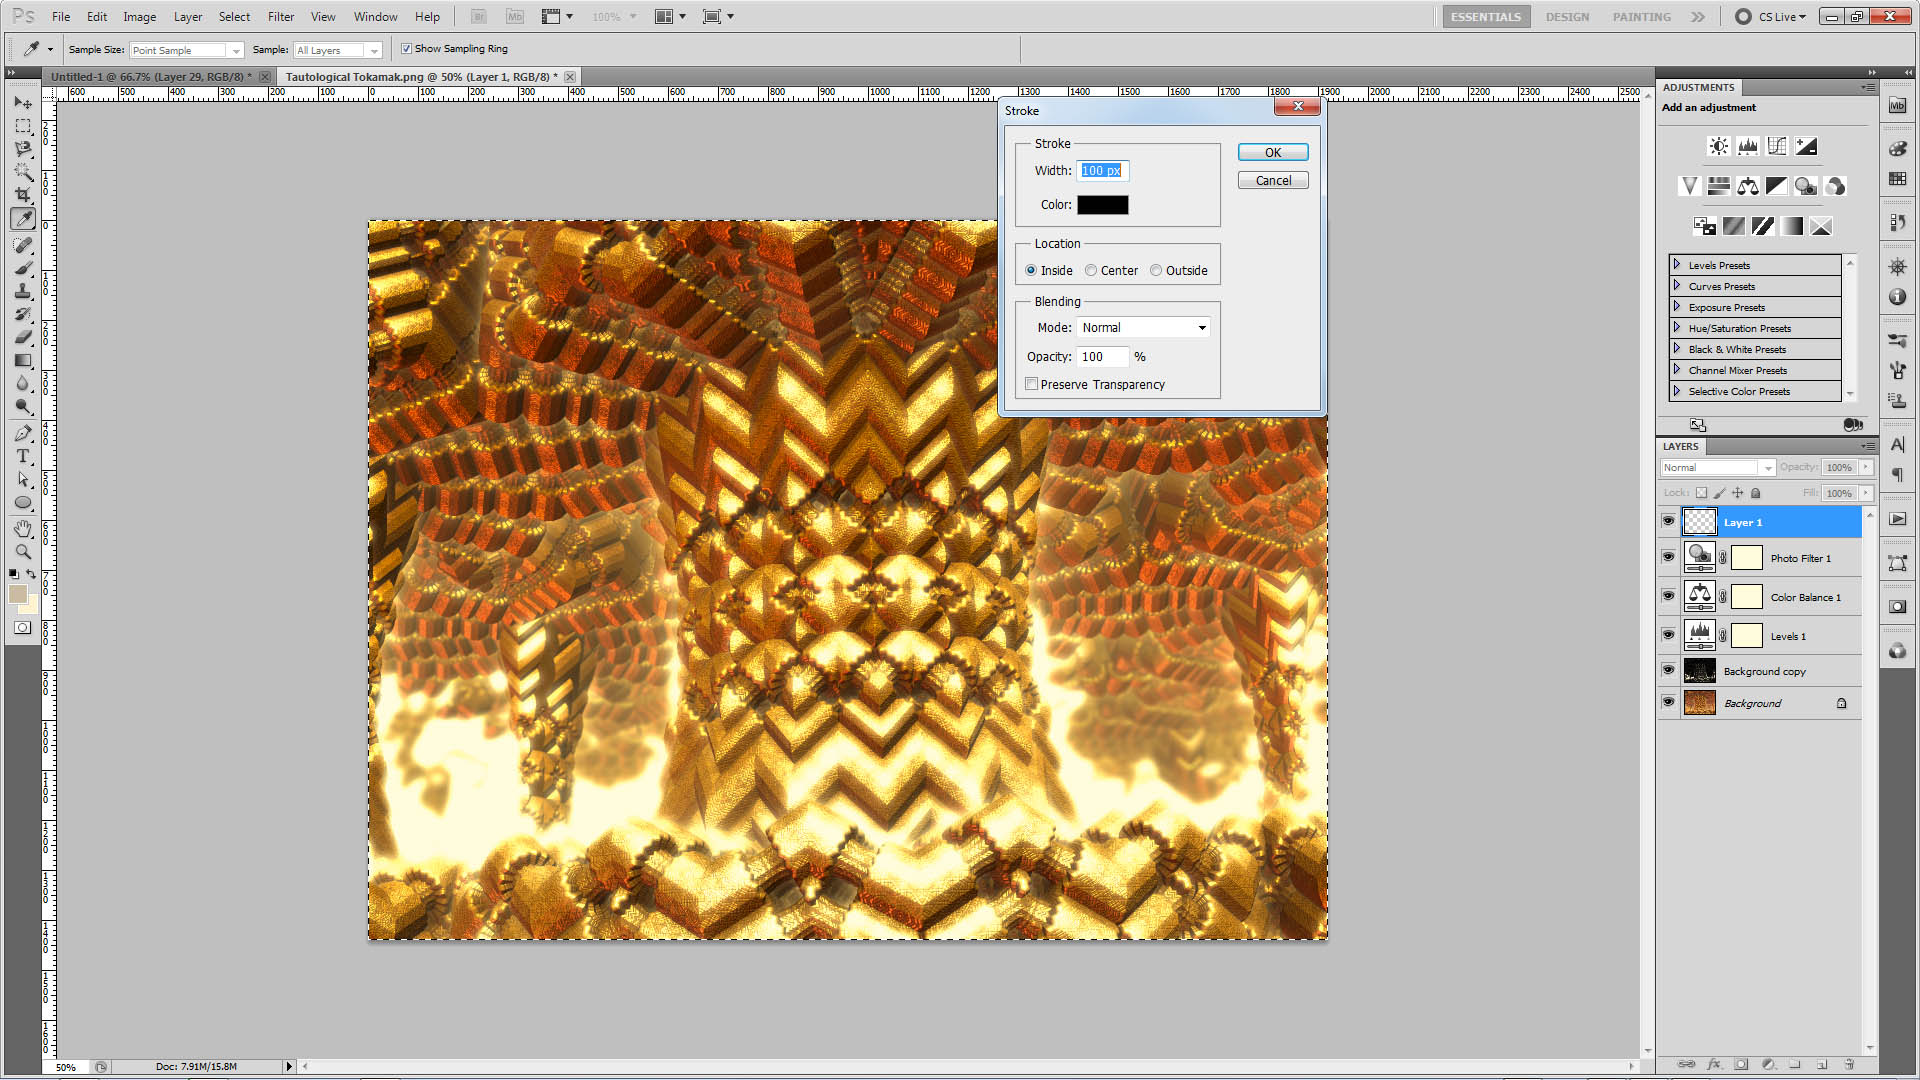
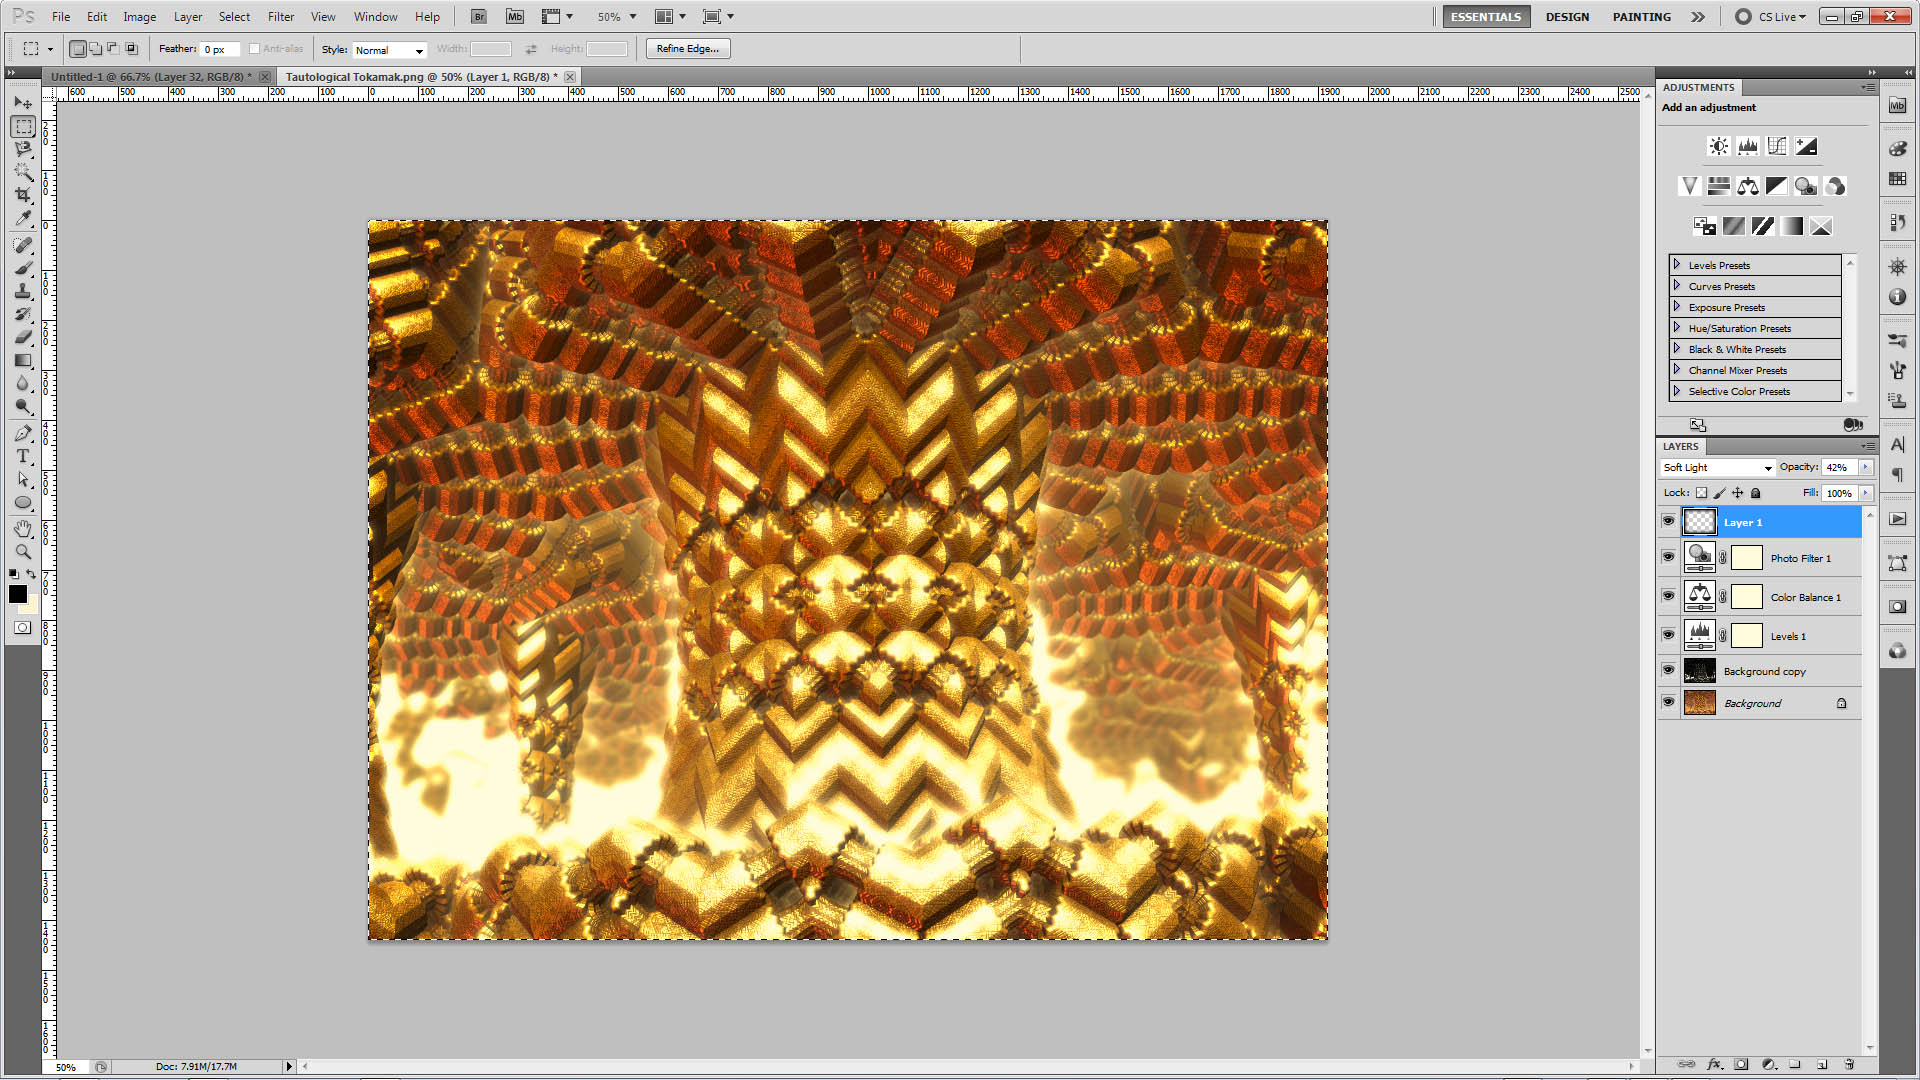
Vignette
Step 6
Create a new layer, select all and add a stroke of 100px to the inside of the selection.
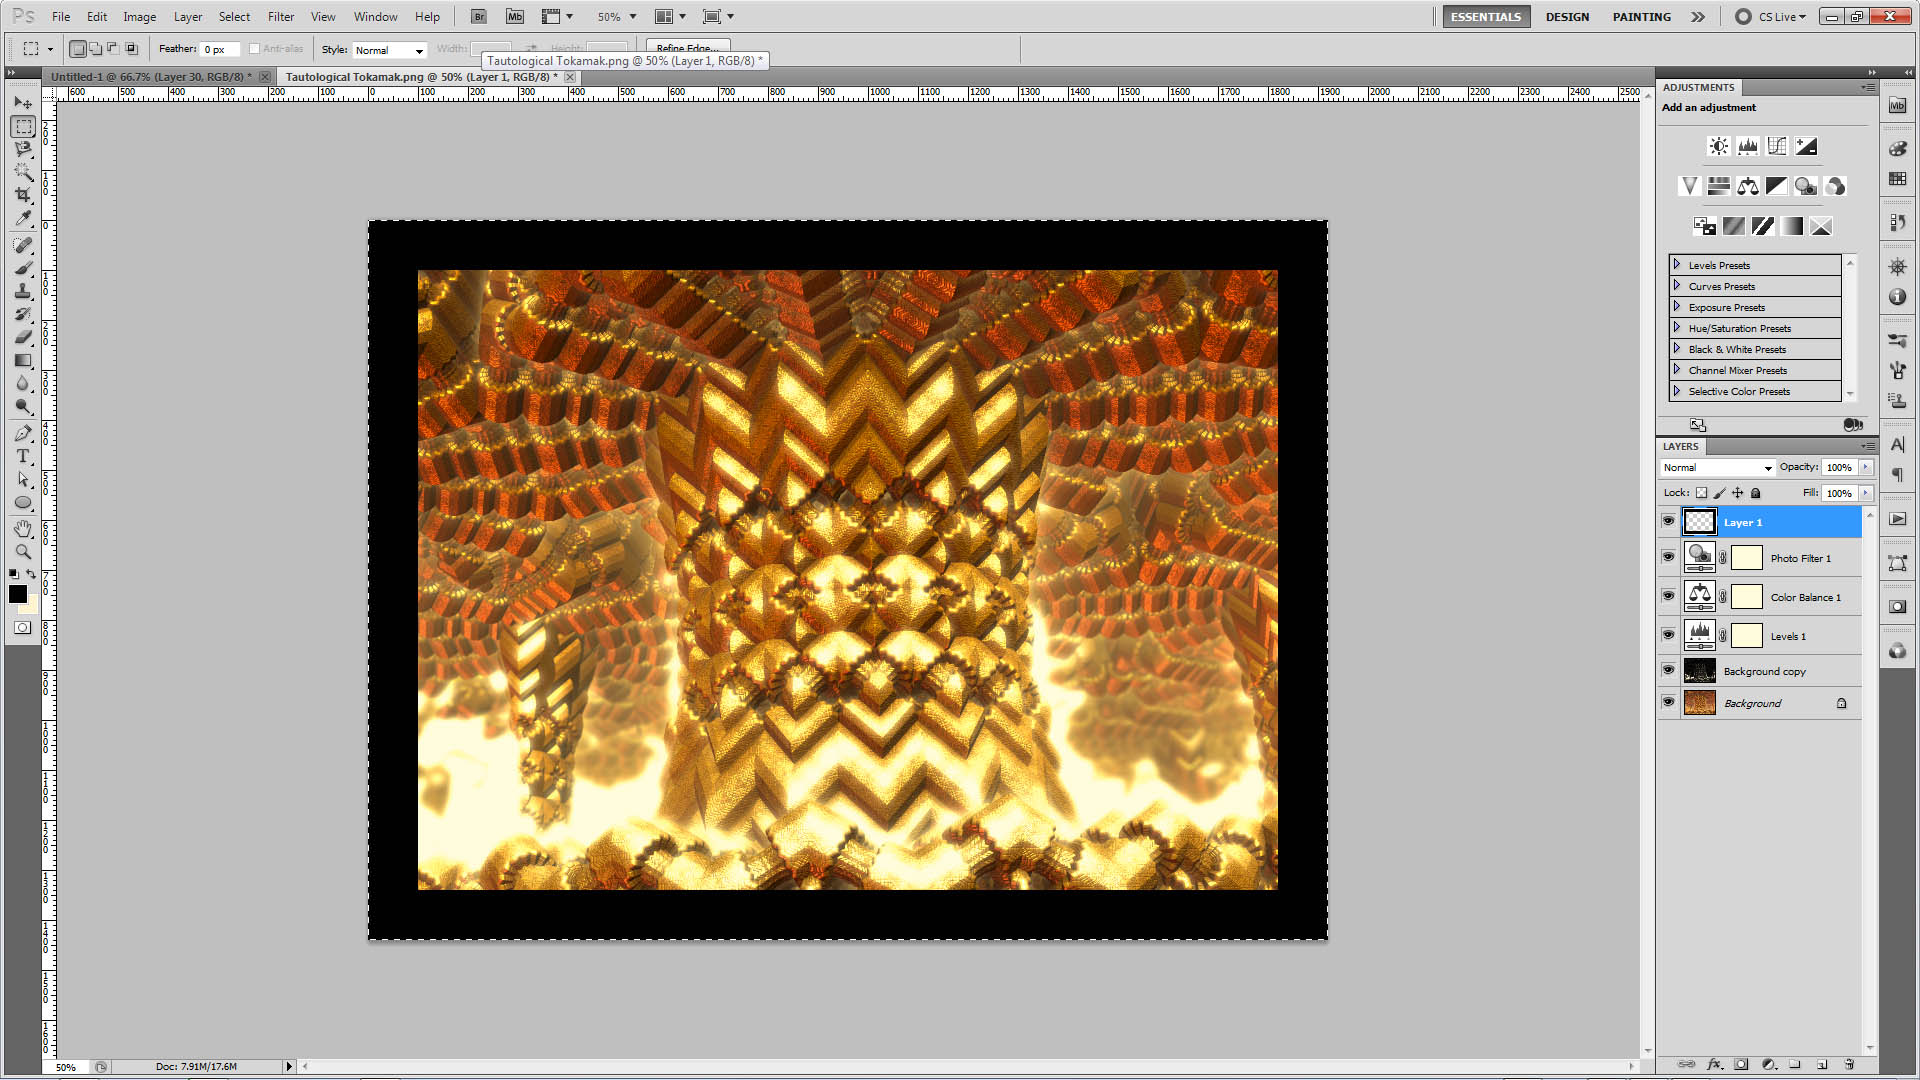
Step 7
Apply a gaussian blur. Again values will depend on the size of the image. YMMV
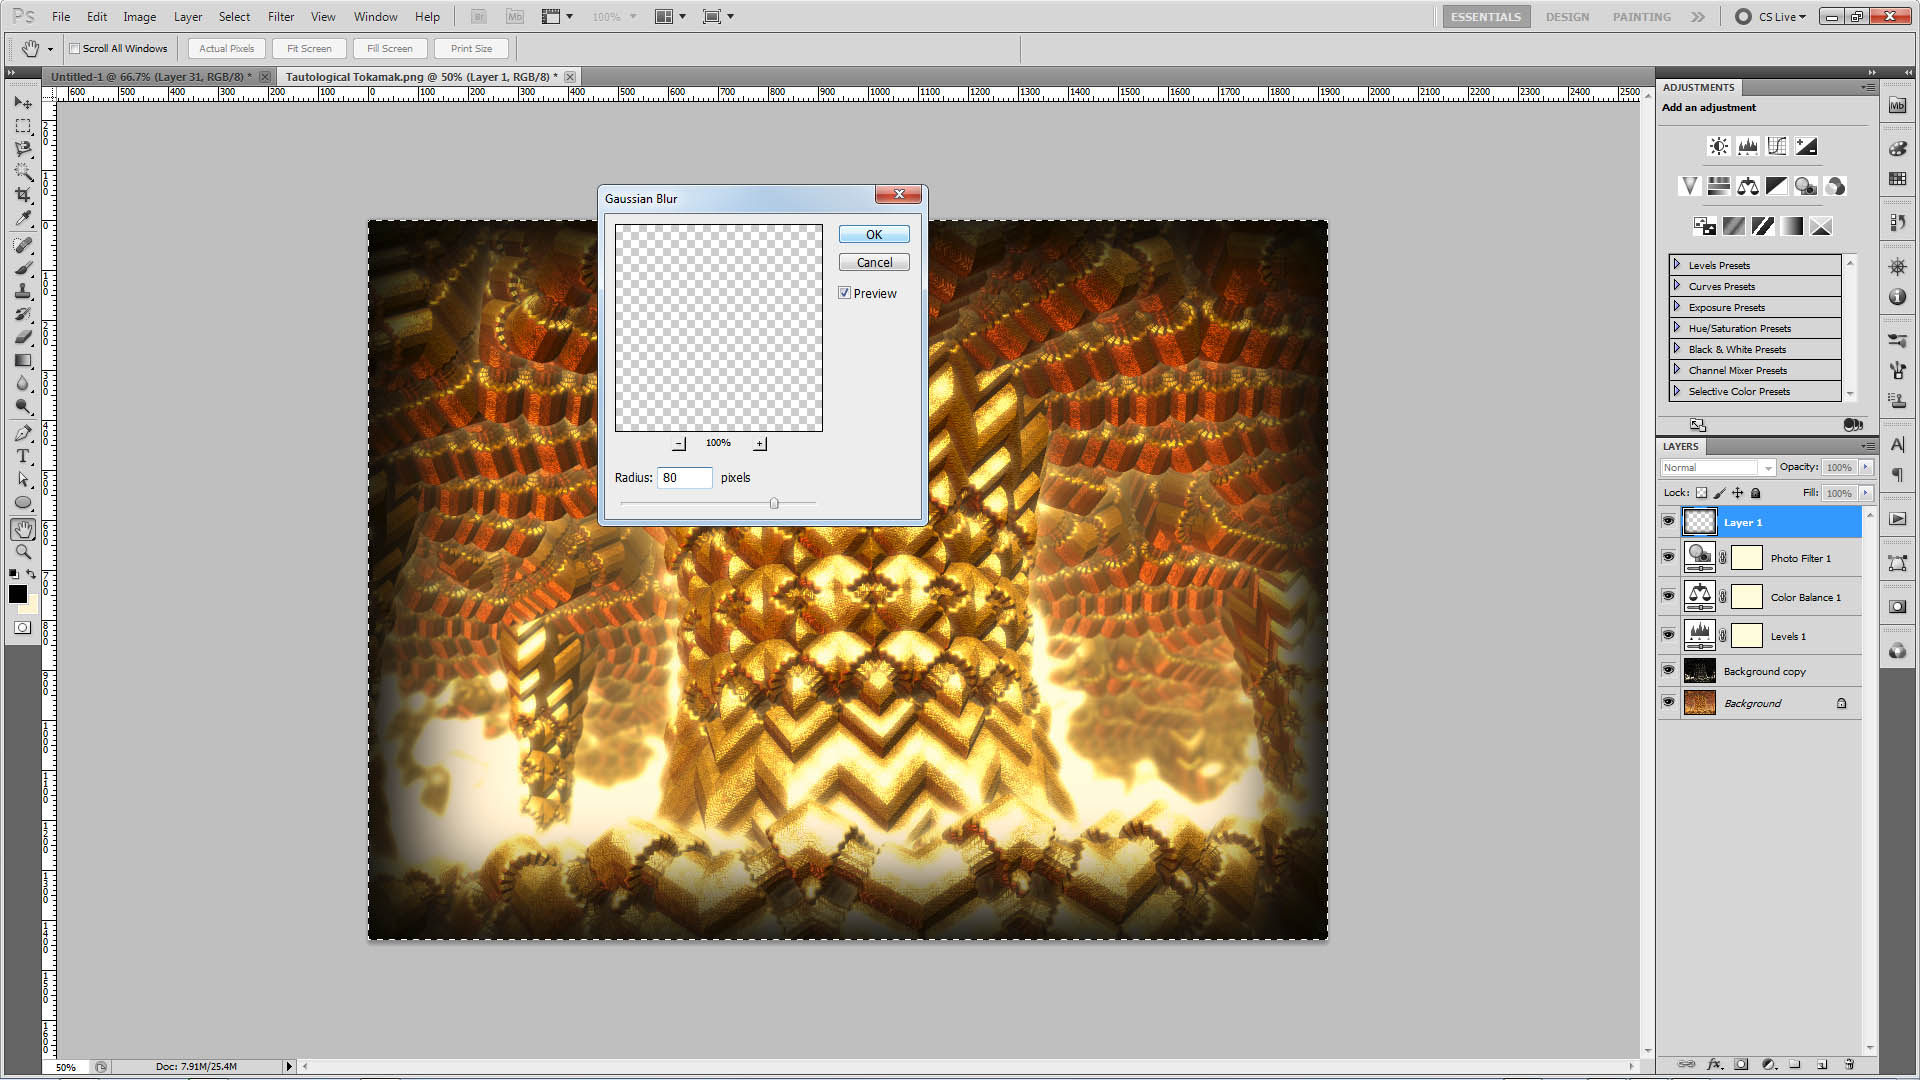
Step 8
Set the gaussian blurred stroke to soft light or any other blending mode that takes your fancy. You can use the burn tool or a million other techniques to vignette but this works for me. You could go the extra step of Ctrl clicking the layer icon of the vignette, Ctrl+Shift+C (copy merged), paste, apply gaussian blur of about 3-30 depending on... ok yep you got it....
Save your creation and that's all folks. If you made it this far you get a gold star. Please send your 3d fractals and well concealed cash and treats to info at beaudeeley dot com.
grab the parameters here here. Ciao!
Part 1 - Basics | Part 2 - Finessing | Part 3 - Post Processing .